
Install Terminal Services on Windows Server 2012
In Release Server 2012 Microsoft completely changed how Remote Desktop Services are deployed and managed. This change tossed many like myself for a loop as I could not find any documentation on how to do what was once a Few minute task.
I Hope after reading this article this once simple task will be simple once again
Step 1
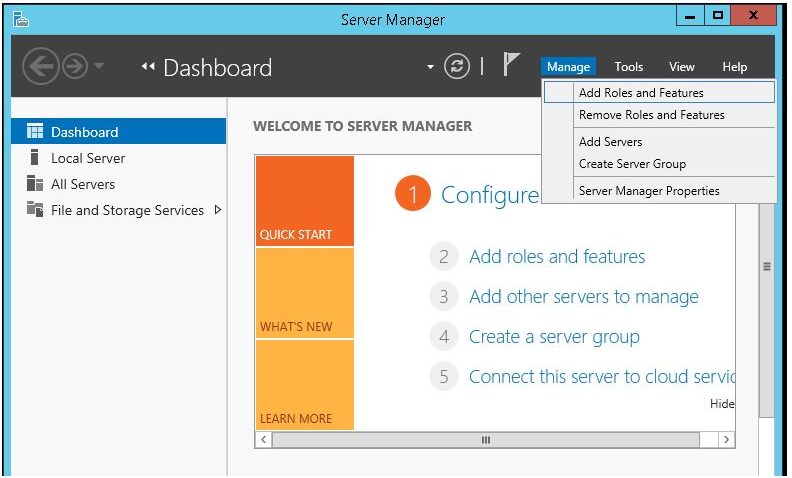
Step 2: Select Remote Desktop Services installation
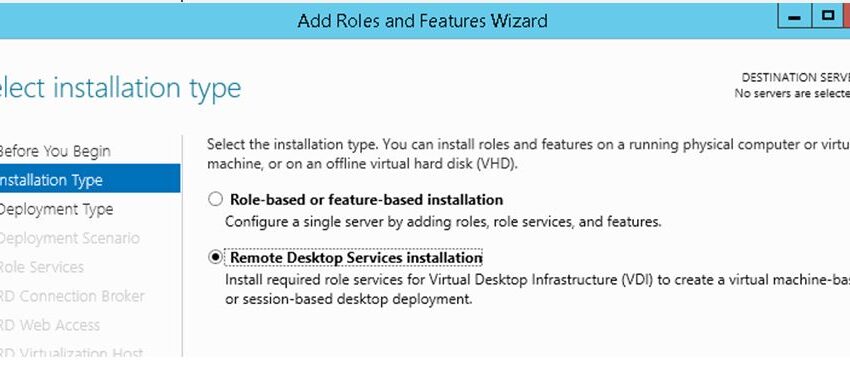
Select Remote Desktop Services installation and click next
Step 3:
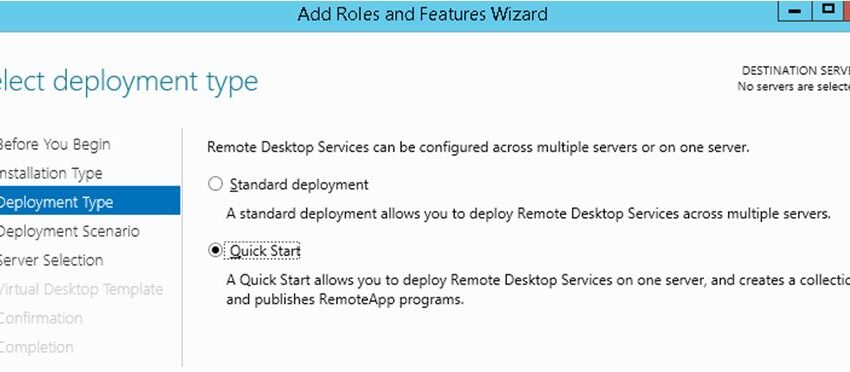
Select Quick Start and click next
Step 4: Select Session-based desktop deployment
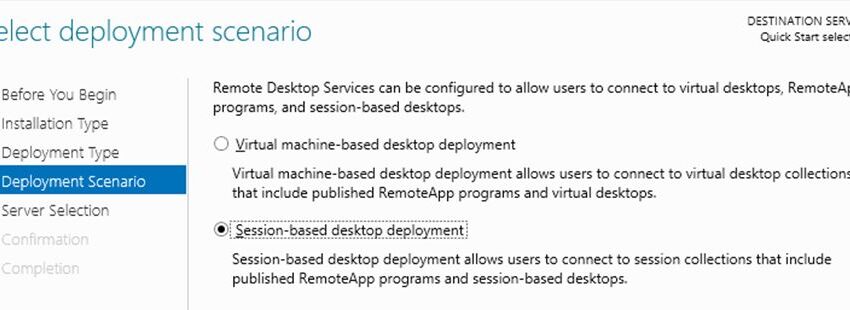
Select Session-based desktop deployment and click next
Step 5: Server Pool
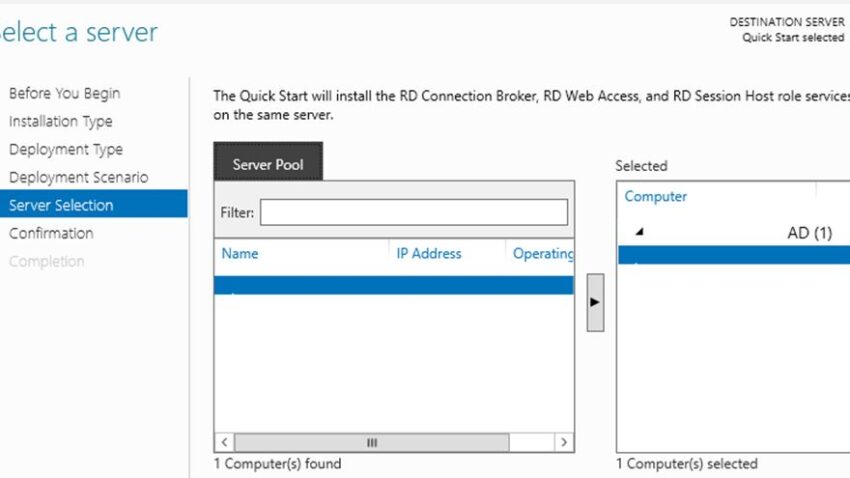
Make sure the server you are installing on is listed in the server pool.
If you are installing on the same server you are physically logged into then the server should be there by default
Step 6: Installation Checks
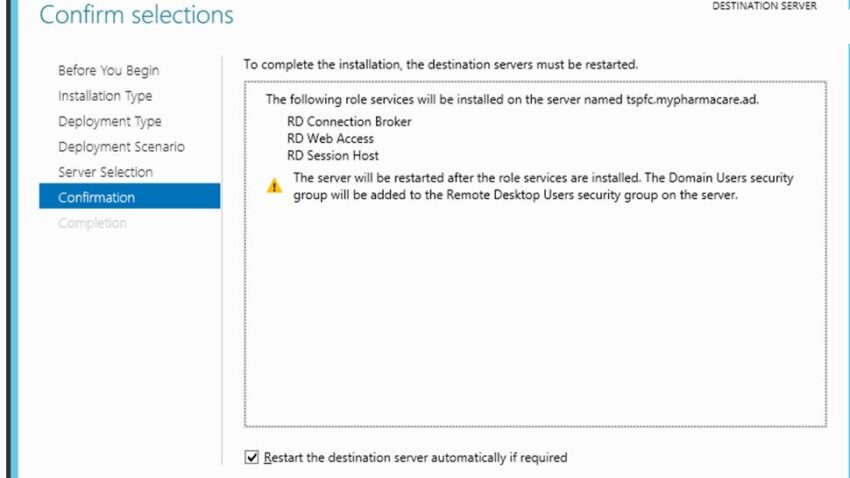
Once the installation checks are completed choose to allow (or not) your server to restart automatically if required as part of the install and click Deploy
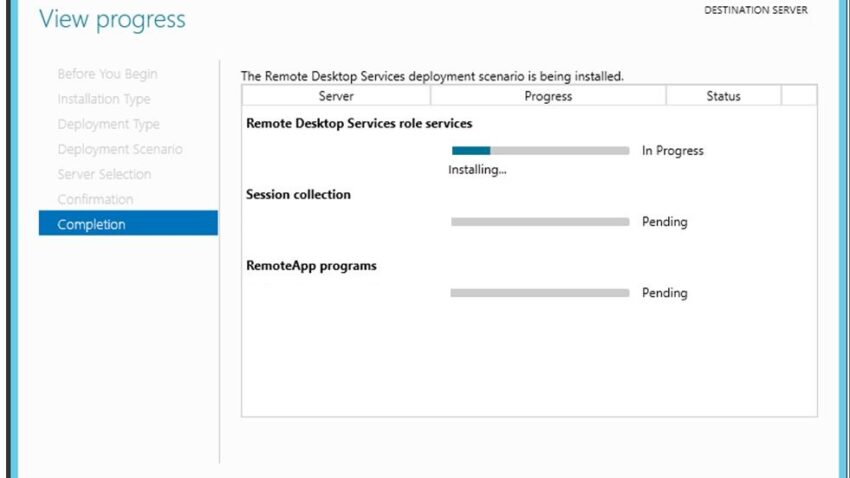
Step 7:
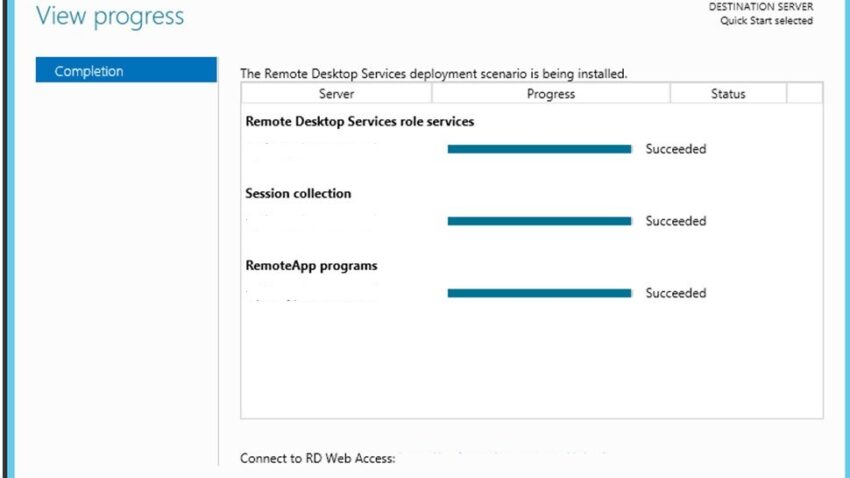
Step 8:
Step 9: Add TS Licensing
Open Server Manager and go to Remote Desktop Services on the left menu. This will show you the Overview with the status and settings for your terminal server.
If you plan to install the licensing services locally on this server click the RD Licensing icon in the deployment overview window. Then follow the instructions to install the licensing service locally and add your purchased licensing.
I am going to use a licensing server in this example so I won’t go into detail on this option
Step 10: Add Licensing Server

If you have more than one TS like I do you will want to use a Licensing server. This allows you to share your client TS licenses across all of your terminal servers making it easier to purchase and manage your license needs.
To uses this option click Tasks and Edit Deployment Properties.
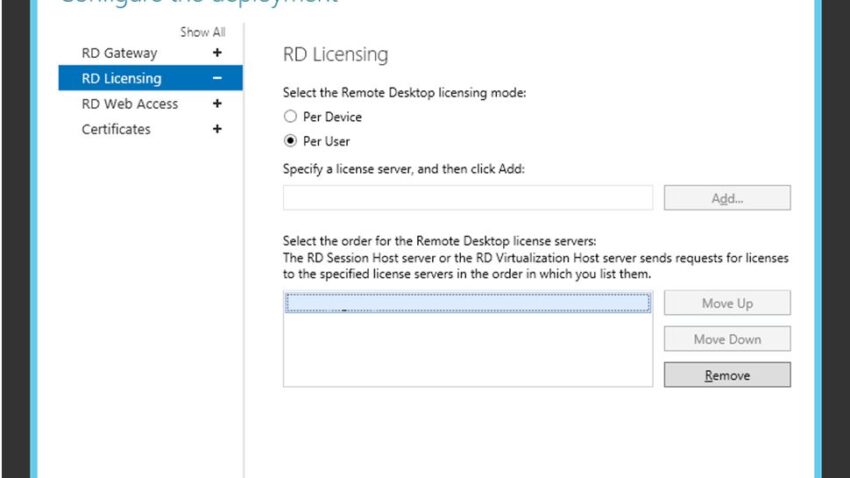
Step 11: Edit Deployment Properties
Click RD Licensing Select your licensing type, I am using Per User type in the name of your licensing server and hit add. Your licensing server will be contacted, verified and added to the list.
Click OK
Step 12: Set Who Can Log into this server
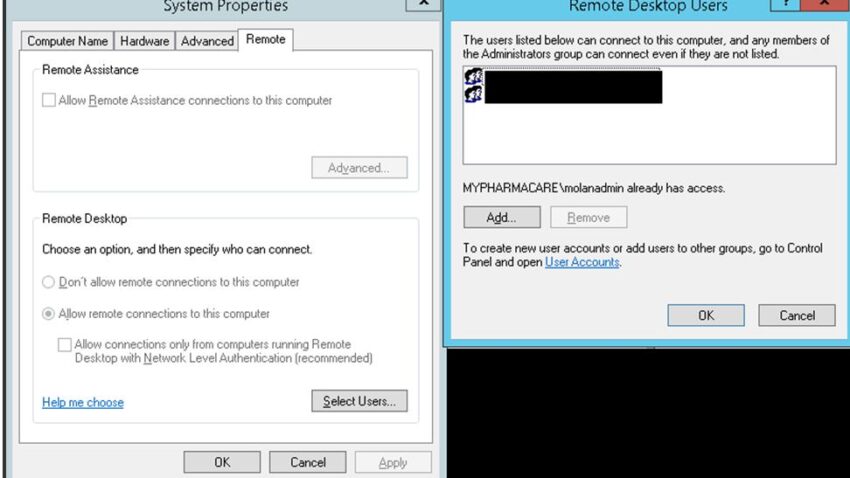
Go to System >> Remote Settings >> Select Users and add the Group or Users who will be allowed to connect to this server
Step 13: Verify User Connectivity
At this point users should now be able to log into this server. Test your connectivity out with a regular user account and you should be good to go! The process as been re-arranged and is very different when compared to previous versions, but once you get a grasp for where things have been moved to it still works very much the same as it always did.
Dear admin please update terminal server topic
Dear admin how can reset grace period in terminal server